
The soul of the Northman: leather’s role in Viking life
In the windswept lands of the North, where survival was a daily conquest, resources were never wasted. Wood, iron, and stone formed the bones of the Viking world, but it was leather that served as its resilient skin. More than just a material, leather was a cornerstone of Norse society, a versatile and indispensable treasure that protected warriors in battle, shod the feet of explorers, and carried the wealth of traders. To understand the Viking Age is to understand the profound importance of the hides they so masterfully worked.
Unlike the fleeting nature of wood or the corrosive tendencies of iron, well-tanned leather possessed a rugged longevity. It was the original high-performance fabric, offering a unique combination of flexibility, durability, and protection from the harsh Scandinavian elements. Every longship that set sail for distant shores was laden with leather goods. Thick, hardened leather formed the face of shields and the segments of lamellar armor, capable of turning aside a desperate sword thrust. Water-resistant leather bags, or ‘púss’, protected precious supplies from salt spray and rain, while strong belts and harnesses were essential for carrying the tools of a trade or the weapons of a raid.
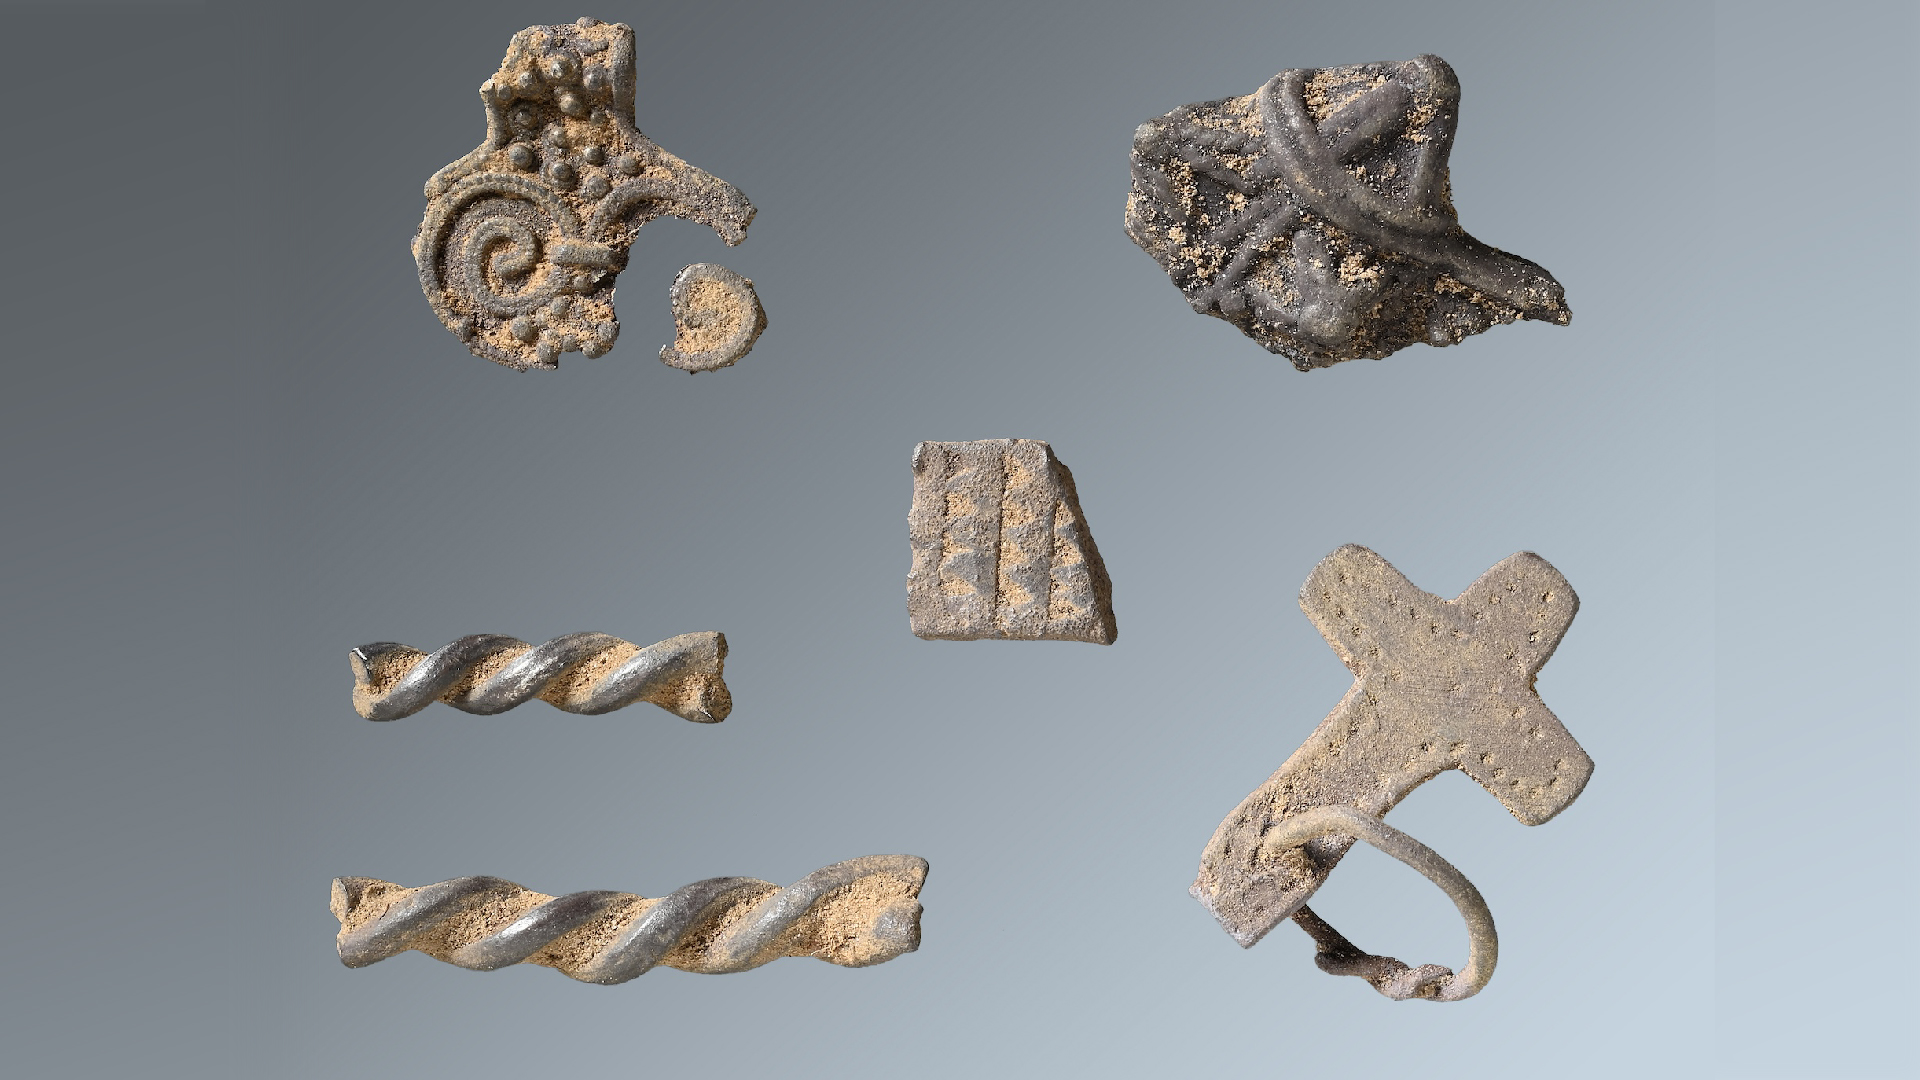
Archaeological sites across the Viking world, from the bustling trade hub of Hedeby in Denmark to the Anglo-Scandinavian capital of Jórvík (modern-day York), have unearthed a wealth of leather artifacts. These remnants paint a vivid picture of everyday life. We see the worn-out soles of ‘turnshoes’, a simple yet effective footwear constructed from a single piece of leather stitched and turned inside out. We find scabbards, intricately tooled and designed not just to hold a blade, but to declare the owner’s status and wealth. Fragments of pouches, belts, and even delicate book bindings whisper stories of a people who were as practical as they were artistic. These finds show us that leatherworking was not a niche craft but a universal skill, essential for every man and woman seeking to carve out a life in a demanding world.
For the Viking warrior, leather was a second skin. It was the strap that held his helmet firm, the grip that gave him purchase on his sword, and the armor that could mean the difference between Valhalla and another day’s fight. Mastering this material was not a hobby; it was a fundamental skill for survival, prosperity, and identity. By learning to work with leather today, we do more than just replicate artifacts; we connect with the very spirit of Norse ingenuity and self-reliance.
Gearing up: your essential Viking leatherworking toolkit
Before you can begin your saga in leather, you must first gather your hoard of tools. While a Viking craftsman would have relied on a simple set of iron and bone implements, the modern artisan has access to a wider array of specialized tools that make the process more precise and enjoyable. The key is to start with the essentials, focusing on quality tools that will serve you well on your journey from novice to skald of the workshop.

First and foremost, you need to understand your primary material: the leather itself. For projects aiming for historical accuracy, vegetable-tanned (veg-tan) leather is the only way to go. This ancient method uses natural tannins from bark and other plant matter to cure the hide, resulting in a firm, durable leather that can be stamped, carved, and wet-formed. Avoid chrome-tanned leather, a modern invention that is too soft and stretchy for most traditional projects. Veg-tan leather is sold by weight, typically in ounces. A good starting point for projects like belts, pouches, and bracers is a 5-7 oz leather, while thicker 8-10 oz leather is better suited for armor components.
With your hide selected, it’s time to assemble your tools:
- Cutting Tools: A razor-sharp blade is non-negotiable. A high-quality utility knife or a specialized leather round knife will be your most-used tool. Always work on a self-healing cutting mat to protect your blade and your work surface. A steel ruler is also essential for ensuring straight, accurate cuts.
- Stitching and Lacing Tools: To join pieces of leather, you’ll need to create holes for your thread. A stitching groover or creaser marks a straight line for your stitches, giving your work a professional look. A diamond-shaped stitching awl or a set of stitching chisels/pricking irons are then used with a mallet to punch the holes through the leather. For the actual sewing, you’ll want blunt-tipped harness needles and strong, waxed linen thread, which is historically accurate and incredibly durable.
- Finishing and Shaping Tools: An edge beveler is used to round off the sharp corners of your cut leather, preventing fraying and giving a more comfortable finish. A burnishing tool, often a simple piece of wood or plastic, is then used with water or wax to slick and polish these edges to a smooth, dark sheen.
- Decoration and Hardware: To add authentic Viking flair, you’ll want a set of leather stamps. Start with simple geometric designs, knotwork patterns, or even rune stamps. You will also need a range of hardware depending on your project, such as iron or brass buckles for belts and rivets for securing straps.
Building your toolkit is a gradual process. Start with the basics for cutting and stitching, and as you gain confidence, you can expand your collection to include more specialized tools for tooling and dyeing. Each tool is an investment in your craft, a modern link to the ancient artisans who shaped the Viking world one piece of leather at a time.
From hide to heirloom: mastering core Norse techniques
With your workshop prepared and your materials at hand, the real work begins. The techniques used by Viking leatherworkers were born of necessity and refined over centuries. They are simple in principle but require patience and practice to master. By focusing on these foundational skills, you can create gear that is not only beautiful but also strong enough to withstand a raid.
The first and most critical technique is stitching, and the king of leather stitches is the saddle stitch. Unlike a machine stitch, which uses two separate threads that can unravel if one breaks, the saddle stitch uses a single thread with a needle on each end. The threads pass over each other in every single hole, creating a locking stitch that is immensely strong and durable. To perform it, you first punch your line of holes using your awl or stitching chisels. Then, you pass one needle through the first hole, evening out the thread on both sides. For every subsequent hole, you pass one needle through, then follow it with the second needle through the *same hole* in the opposite direction, pulling each stitch tight. This simple, repetitive motion creates the famously tough seams seen on high-quality leather goods.
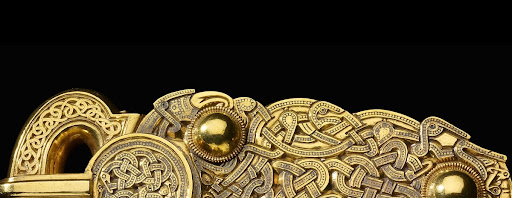
Next comes the art of decoration. Vikings did not do ‘plain’. Their gear was often a canvas for their art and beliefs. The most common method of decorating leather was tooling, or stamping. This involves lightly dampening the surface of your veg-tan leather with a sponge (a process called ‘casing’) and then using a mallet to strike metal stamps into the surface, leaving a permanent impression. You can combine simple stamps to create complex knotwork patterns or use pictorial stamps of ravens, wolves, or Mjolnir. For more free-form designs, a stylus can be used to carve lines and shapes into the damp leather before stamping. This is how the intricate designs on scabbards and pouches were achieved.
Once your piece is stitched and decorated, the final step is finishing. This is what separates a rough piece of hide from a finished artifact. Start by beveling and burnishing all the cut edges as described before. This not only looks professional but also seals the leather fibers. Finally, you must treat the leather to protect it. A liberal application of a natural oil, like neatsfoot oil, will darken the leather to a rich brown and restore the moisture lost during tooling. After the oil has soaked in, a final coat of beeswax or a wax-based conditioner will provide a water-resistant finish, protecting your creation from the elements just as it would have for a Viking a thousand years ago.
To put these skills into practice, start with a simple project like a belt or a drawstring pouch. A belt requires only straight cuts, hole punching for the buckle and sizing, and edge finishing. A pouch will challenge you with a simple curved pattern and a basic saddle stitch. As you complete these first projects, you will build the muscle memory and confidence to tackle more complex pieces like bracers, scabbards, and eventually, the armor of a true shield-warrior. Each stitch you make is a thread connecting you to a long and proud tradition of Northern craftsmanship.


