
Gathering the tools of the Norse craftsman
Before the first cut is made, a true craftsman honors their materials and tools. For a Viking leatherworker, this isn’t just about assembling a kit; it’s about preparing for a journey into the past. The clang of a modern workshop is replaced by the focused, quiet work of hands shaping history. To begin your saga in leather, you don’t need a smithy’s forge, but a dedicated space and a few essential tools will set you on the path to creating gear worthy of a jarl.

Choosing your hide: the soul of the project
The foundation of all Viking leatherwork is, of course, the leather itself. Not all hides are created equal. For projects that require shaping, stamping, or carving—which includes most authentic Norse gear—you must seek out vegetable-tanned (veg-tan) leather. This ancient method uses natural tannins from bark and leaves to cure the hide, resulting in a firm, durable material that holds its shape and beautifully accepts tooling and dyes. Modern chromium-tanned leather, while soft and pliable for things like jackets, is unsuitable for this kind of historical work.
Consider the thickness, measured in ounces (oz). A good starting point for a versatile hide is in the 6-8 oz range. This is sturdy enough for belts, bracers, and pouch fronts, yet manageable enough for a beginner to cut and stitch. For armor pieces like a lamellar vest, you might venture into the 9-10 oz range for added protection. Sourcing can be done through dedicated online leather suppliers or local Tandy Leather stores. Always try to see the hide in person if you can, to check for imperfections and appreciate its unique character.
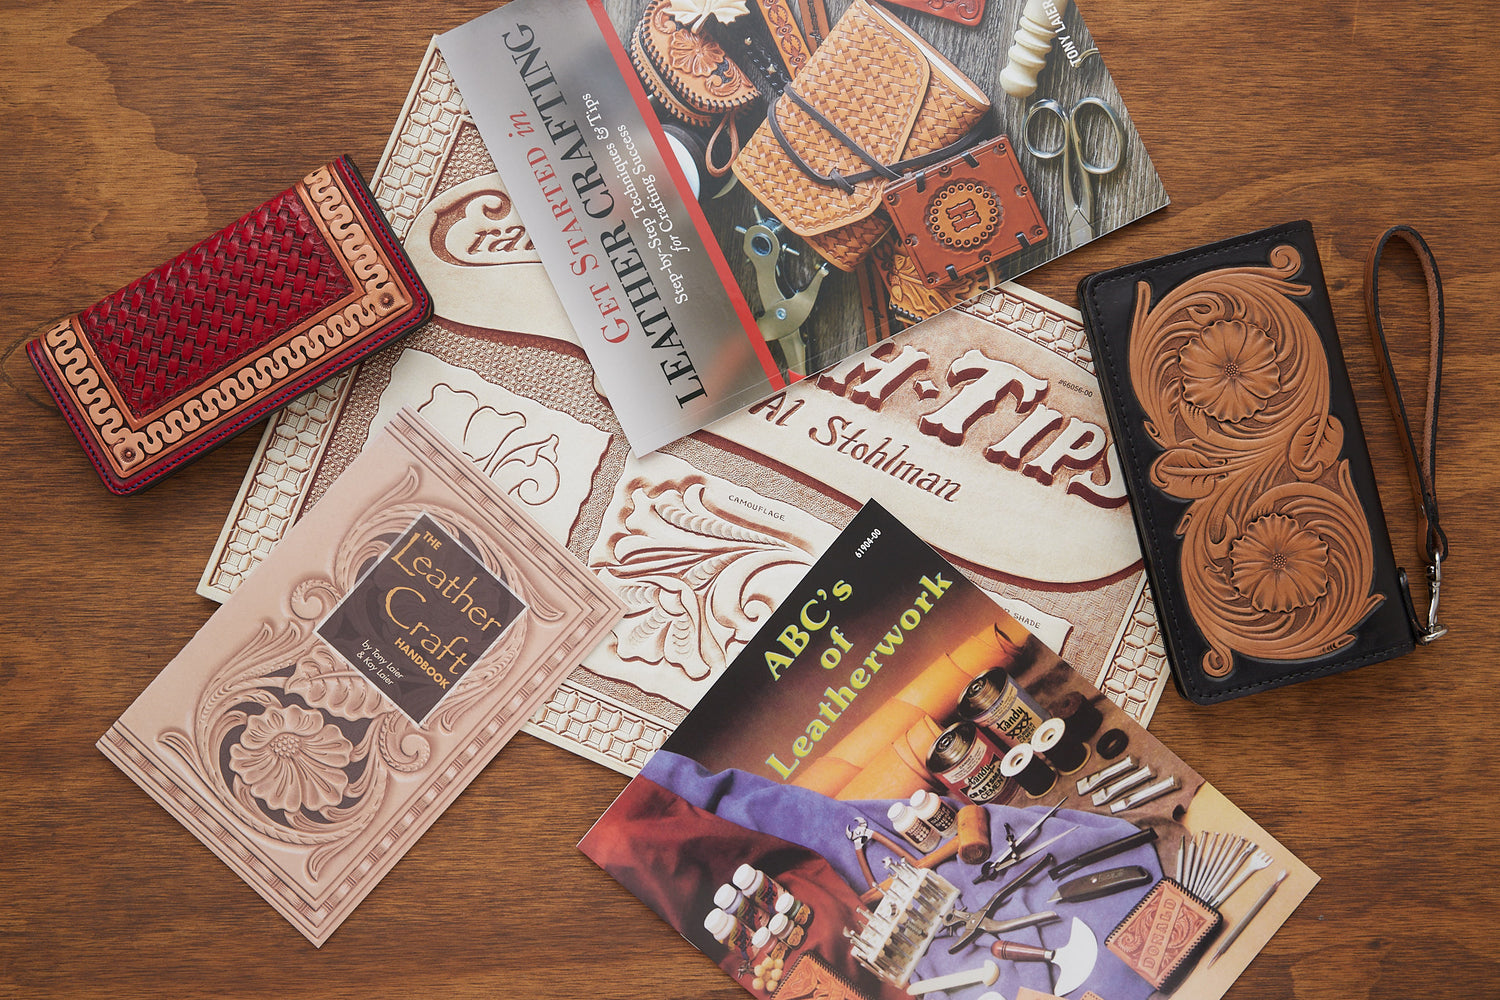
The essential toolkit
Walking into a leather supply store can be overwhelming, with walls of specialized tools. Fear not, shield-brother or shield-maiden. You can start with a surprisingly minimal set of high-quality tools that will serve you through many projects.
- Cutting Tools: A sharp, heavy-duty utility knife or box cutter is your most fundamental tool. For more precise curves and control, many crafters graduate to a round knife (or head knife), but a standard blade will serve you well initially. A metal ruler or straight edge is non-negotiable for guiding your cuts.
- Marking & Measuring: A simple ruler is a start, but a wing divider (or compass) is invaluable for marking consistent stitch lines along an edge. A stitching groover can also be used to carve a small channel for your stitches to sit in, protecting them from wear and tear.
- Stitching Tools: This is where the magic happens. You’ll need a stitching awl (a diamond-shaped awl is best as it creates a hole that closes neatly around the thread), two blunt-tipped harness needles, and waxed thread. For authenticity, waxed linen thread is the gold standard, offering incredible strength and a historical feel.
- Hole Punching: A rotary punch is a versatile tool for creating holes for buckles, straps, and rivets. For stitching, however, the awl or a set of stitching chisels (pricking irons) are used to create the stitch line.
- Finishing Tools: To give your work a professional look, an edge beveler and a wood slicker (or burnisher) are key. The beveler rounds the sharp edges of your cut leather, and the burnisher smooths and seals them, preventing fraying and creating a dark, polished look.
Your workspace can be a simple sturdy table. A self-healing cutting mat will protect its surface, and a heavy slab of granite or marble (a cheap off-cut from a countertop store works perfectly) provides the solid base needed for punching holes and stamping designs.
Foundational techniques for authentic viking leather
With your tools gathered and your hide laid out, the real work begins. These foundational skills are the bedrock of every piece you will create. Patience is your greatest ally here; rush the process, and the spirits of the old gods of craft will surely frown upon your work. Master these basics, and you’ll be able to construct nearly any piece of Viking gear you can imagine.

From concept to pattern
Every successful project begins with a good pattern. You can find many free patterns online for simple items like arm bracers or belt pouches, which are excellent first projects. Alternatively, you can create your own. Use cardstock or old cereal boxes to draft your design. This allows you to test the fit and function before ever touching your valuable leather. Wrap it around your arm, test the buckle placement, and make adjustments. Once you’re satisfied, trace the pattern onto the smooth (grain) side of your leather with an awl or a pen, pressing lightly so the mark is visible but not deep.
The art of the clean cut
Cutting leather is a skill of finesse, not brute force. Always use a sharp blade; a dull blade will tear the leather and require more pressure, which is dangerous. Place your metal ruler firmly along your traced line. For a clean cut, it’s better to make two or three shallow passes with your knife than to try and force it through in one go. On curves, take your time and move the leather itself, not just the knife, to maintain a smooth, flowing line. Your goal is a 90-degree edge, straight and true.
Mastering the saddle stitch
This is the most important technique you will learn. The saddle stitch is a traditional hand-stitching method that uses two needles on a single thread. It creates a locking stitch that is incredibly strong—far stronger than any machine stitch. If one thread breaks, the rest of the seam will hold firm, a quality a Viking warrior would have valued immensely.
- Prepare your thread: Measure a length of thread roughly 3-4 times the length of the seam you’re sewing. Thread a needle onto each end.
- Mark your stitch line: Use your wing divider to scribe a light line, perhaps 1/8th or 3/16th of an inch from the edge.
- Create the holes: Use your stitching awl to punch the first hole through all layers of leather. Push the first needle and thread through, and pull until you have an equal length of thread on both sides.
- The first stitch: Punch the awl through the second hole. From the back side, push the second needle through the new hole. As you pull it, pass the first needle through the same hole from the front side, making sure it goes behind the thread of the second needle. Pull both threads tight, seating the stitch firmly in the hole. This creates the lock.
- Continue the pattern: Repeat this process for every hole: awl, back needle through, front needle through behind the first thread, and pull tight. Consistency in your tension is key to a beautiful, straight stitch line.
Finishing for durability and beauty
A project isn’t finished when the last stitch is tied off. The edges must be treated. Use your edge beveler to trim the sharp corners from both the front and back of your cut edges. Then, dampen the edge slightly with water and use your wood slicker. Rub it back and forth vigorously along the edge. The friction and pressure will compress the leather fibers, darkening and polishing the edge into a smooth, sealed surface that resists wear and looks truly professional.
Adding Norse soul: decoration and symbolism
Your piece is now functional, but to make it truly Viking, it must tell a story. Leather was a canvas for the Norse people, a place to carve symbols of power, protection, and faith. This is where you infuse your creation with the spirit of the North and transform it from a simple accessory into a piece of your personal saga.
Introduction to tooling and carving
Leather tooling involves compressing the leather fibers to create a permanent design. To do this, you must first “case” the leather by dampening it with a sponge and water. You want it to be cool to the touch but not soaked. Let it sit until the surface returns to its natural color, but the inside remains moist. This makes the leather receptive to impressions.
For a beginner, a simple set of stamping tools is a great place to start. Geometric stamps, border tools, and backgrounders can create intricate-looking patterns with ease. For more detailed work, a swivel knife is used to carve the main lines of a design into the leather. This takes practice to control, so try it on a scrap piece first. After carving, a tool called a beveler can be used along the cut lines to press down one side, making the design pop in three dimensions.
Norse motifs and their meanings
You don’t need to be a master artist to add authentic decoration. Start with simple, powerful symbols that were common in the Viking Age:
- Knotwork: Interlacing, unending lines are a hallmark of Norse art. Start with a simple triquetra (three-pointed knot) or a basic braid pattern for a belt or bracer edge. These often represent eternity, loyalty, and the interconnectedness of life.
- Runes: The letters of the Norse alphabet were more than just a writing system; each held a specific power or meaning. Carving your initials in Younger Futhark runes or choosing a rune that represents a quality you admire (like Týr for victory or Uruz for strength) is a simple yet deeply personal touch.
- Mythical beasts: While a full depiction of Jörmungandr, the World Serpent, might be ambitious, a simplified serpent head or the raven, a symbol of Odin, can be an incredibly powerful addition. Focus on the key shapes and flowing lines characteristic of the art style.
Dyeing and finishing
To bring your design to life and protect the leather, you’ll need to apply a finish. Leather dyes come in a wide range of colors, but for a historical look, stick to earth tones like browns, blacks, and oxblood reds. Apply dye evenly with a wool dauber. After the dye has dried completely, an antique finish or gel can be applied. This dark substance settles into the carved and stamped areas of your design, creating contrast and making the details stand out dramatically. Wipe off the excess from the raised surfaces. Finally, seal your entire project with a top coat like Resolene or a simple beeswax conditioner. This will protect it from moisture and wear, ensuring your creation lasts for years to come.
From a simple hide to a piece of gear imbued with history and personal meaning, you have followed in the footsteps of Norse craftsmen. Every cut, stitch, and stamp connects you to a tradition of self-reliance and artistry. This is more than a hobby; it is a way to forge your own legacy, one piece of leather at a time. Now go forth and create something worthy of Valhalla.


