
Forge your legacy in hide and thread
In the age of Vikings, a warrior was defined not only by their axe and their courage but by the gear they carried. The supple strength of a leather belt holding a trusted sword, the hardened bracers that turned a blade, the simple pouch carrying treasures from a distant land — these were not mere accessories. They were extensions of the self, crafted with skill and imbued with spirit. Leather was the silent companion on every raid, the sturdy shield on every longship, and the canvas for the stories of the Norse people.
Today, that spirit lives on. The call to create, to connect with the past through the work of our own hands, is as strong as ever. This guide is your map into the world of Viking leatherwork. Whether you are a fresh-faced shieldmaiden looking to craft your first bracer or a seasoned Jarl seeking to perfect your tooling, we will walk the path together. We will explore the tools of the trade, the secrets of the hide, the ancient techniques of stitching and carving, and the symbols that give each piece a soul. Prepare to transform raw material into a piece of your own saga.
The historical hide: Leather in the Viking age
Before we pick up a knife, we must understand the legacy we are continuing. For the Vikings, leather was a cornerstone of daily life and warfare, second only perhaps to wood and iron. Its versatility was unmatched. Archaeological finds from settlements like Hedeby and York reveal a society deeply reliant on skilled leatherworkers.

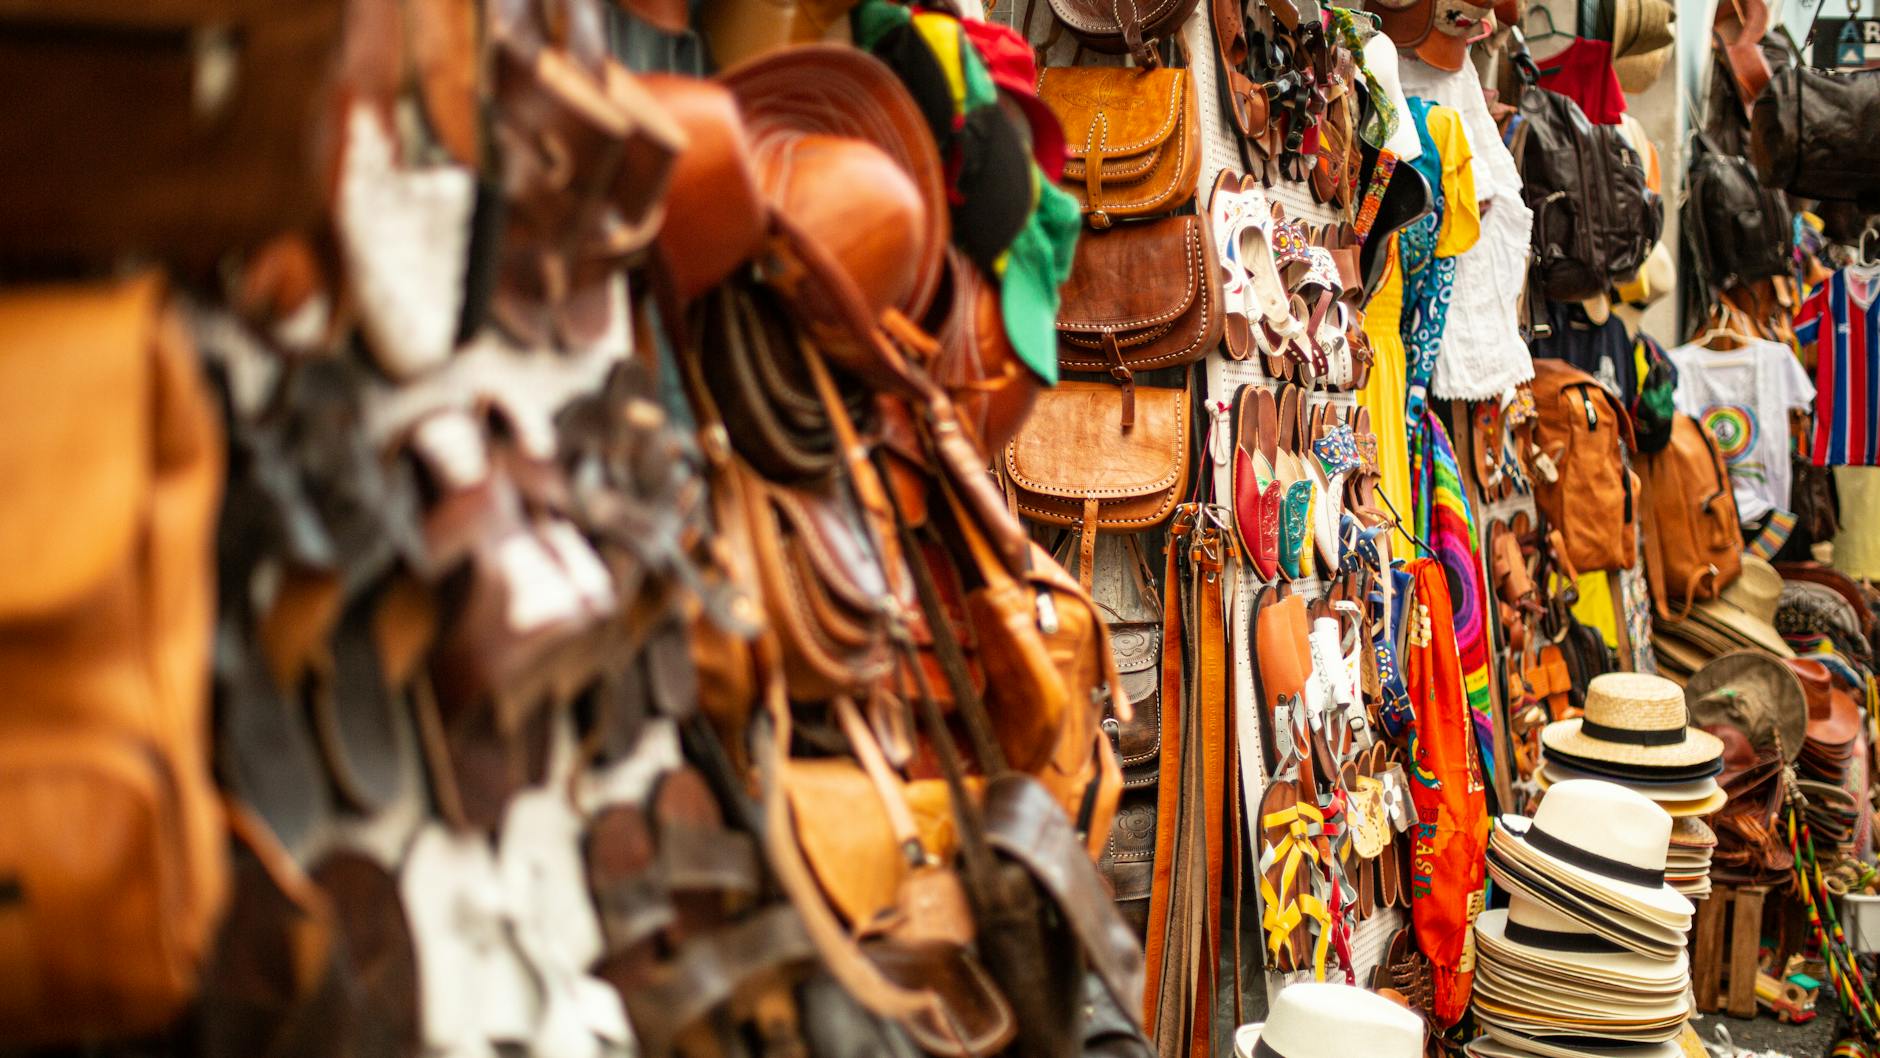
They crafted high, sturdy shoes (known as jorvik shoes) to traverse unforgiving landscapes, durable belts to carry weapons and tools, and satchels to protect their possessions. In battle, leather found its most vital purpose. While mail was the armor of the wealthy, most warriors relied on lamellar or hardened leather armor, known as cuir bouilli. This process involved shaping wet leather and then hardening it with hot water, wax, or oil, creating a protective layer that was surprisingly resilient. This same material formed the face of their iconic round shields, stretched taut over wooden planks.
The primary materials were local and abundant. Cattle, goat, and deerskin were the most common hides, each offering different properties of thickness and flexibility. The tanning process was an arduous one, often using oak bark and other plant tannins (a method now known as vegetable tanning) to preserve the hide and make it workable. This is the very same type of leather we prize today for its ability to be shaped, stamped, and carved with the sagas of old.
Gathering your hoard: Essential tools for the modern skald
Every great work begins with the right tools. While a Viking craftsman’s kit was simple, it was brutally effective. Your modern hoard can start small and grow as your skills develop. Think of these not as expenses, but as an investment in your craft.
The beginner’s toolkit
To begin your journey, you need only a few key items to cut, punch, and stitch leather. You can create incredible things with just these basics:
- A sharp knife: A heavy-duty utility knife or a specialized leather round knife is non-negotiable. A sharp blade ensures clean, safe cuts.
- Self-healing cutting mat: Protect your workspace and your blades. A large mat gives you the freedom to work on projects of any size.
- Steel ruler: For making straight, accurate cuts. A ruler with a cork back will prevent slipping.
- Stitching chisels or pricking irons: These fork-like tools are struck with a mallet to create evenly spaced stitching holes. They are the secret to clean, professional-looking stitch lines. A 4mm or 5mm spacing is a great starting point.
- Mallet or maul: Used to strike chisels and stamping tools. A poly or rawhide mallet is best, as a steel hammer will damage your tools.
- Harness needles: These have a blunt tip and a large eye, designed to pass through pre-punched holes without splitting the leather. You’ll need two for the saddle stitch.
- Waxed thread: Waxed thread is strong, durable, and slides through leather easily. It also helps to lock the stitches in place.
Advancing your craft: Tools for detail and decoration
Once you’ve mastered the basics, you can begin to add intricate details that truly bring your Viking gear to life. These tools are for the artisan looking to carve their mark:
- Swivel knife: The pen of the leather carver. This unique tool is held between the fingers, allowing you to carve fluid, curved lines and the sharp angles of knotwork and runes.
- Stamping tools: A collection of metal stamps with various textures and shapes (bevelers, shaders, backgrounders). When struck with a mallet, they create depth and dimension in your carved designs.
- Edge beveler: This tool trims the sharp, 90-degree corners of your cut leather, giving it a rounded, more comfortable, and finished appearance.
- Burnisher: A piece of wood or plastic used to slick and seal the edges of your leather after beveling, often with water or gum tragacanth, for a smooth, professional finish.
Choosing your canvas: Selecting the right leather
The soul of your project is the hide itself. Walking into a leather store can be intimidating, but understanding a few key types will guide your hand.
Vegetable-tanned (veg-tan) leather
This is the leather of our ancestors and the premier choice for Viking leatherwork. Tanned using natural plant materials, veg-tan is firm, durable, and has a beautiful natural color. Its greatest strength is its ability to accept water, allowing it to be shaped, carved, and stamped with incredible detail. When someone talks about leather tooling, they are talking about veg-tan. It’s sold by weight, typically in ounces (e.g., 2-3 oz for pouches, 5-6 oz for belts, 8-9 oz for armor). This will be your go-to for bracers, armor pieces, belts, and shield edgings.
Chrome-tanned and oil-tanned leather
These leathers are tanned using modern methods that make them softer, more pliable, and often water-resistant from the start. They come in a wide variety of colors and textures. While you cannot tool or carve them like veg-tan, they are excellent for projects where flexibility is key, such as bags, clothing accents, or simple pouches where you want a rustic, worn-in feel from day one.
The path of the craftsman: Core leatherworking techniques
With your tools gathered and your leather chosen, it is time to begin the work. These are the fundamental skills that turn a flat hide into a functional piece of art.
From pattern to piece: Cutting and preparation
Your saga begins with a pattern. You can find many historical and fantasy patterns online, or better yet, design your own. Trace your pattern onto the smooth grain side of the leather with a scratch awl or pencil. When cutting, use your steel ruler for straight lines and make multiple shallow passes with your knife rather than trying to force it through in one go. This ensures control and safety.
Carving the runes: Tooling and stamping
This is where the magic happens. To tool veg-tan leather, you must first “case” it by dampening it with a sponge and water. You want it to be cool to the touch, but not soaking wet. Once cased, transfer your design. You can do this by laying a paper drawing over the leather and tracing the lines with a stylus, leaving a faint impression.
Next, take your swivel knife and carefully cut along these impression lines, cutting about a third of the way through the leather’s thickness. This creates the primary outline. Now, use your stamping tools. A beveler stamp, for instance, is used along one side of a cut line to press the leather down, making the other side appear raised. This is how you create the illusion of depth and dimension in complex knotwork patterns.
Binding the worlds: Stitching techniques
A Viking’s gear had to withstand the rigors of a harsh world, and your stitching must be just as strong. The undisputed king of leather stitching is the saddle stitch. It uses two needles on a single piece of thread, passing them through the same hole from opposite directions. This creates a locking stitch where, even if one thread breaks, the rest of the seam will hold. Use your stitching chisels to punch a line of holes, mount your leather in a stitching pony (or simply hold it), and master this one simple, powerful stitch. It is the bond that will hold your work together for a lifetime.
The final touch: Dying, finishing, and conditioning
Once your piece is cut, carved, and stitched, it’s time for the final touches. You can dye your veg-tan leather with a variety of oil or water-based leather dyes to achieve rich browns, deep blacks, or even the bold reds and blues seen in Viking art. After dying, seal the leather with a finish like beeswax or a modern acrylic resolene. This protects the leather from moisture and wear, locking in the color and giving it a beautiful sheen. Finally, regularly treat your leather goods with a conditioner like mink oil to keep them from drying out and cracking.
Your first conquest: Three Viking leather projects to forge
Theory is good, but practice is better. Here are three projects to begin your journey, from simple to more challenging.
The warrior’s wrist: Crafting a simple bracer
A bracer is the perfect first project. It’s a single piece of leather, requires minimal stitching, and is a fantastic canvas for your first attempt at stamping. Use a thick 7-8 oz veg-tan. Measure your forearm, cut a trapezoidal shape, punch holes along the two non-parallel edges for a leather lace, and go wild stamping a simple runic message or a border pattern in the center.
The Jarl’s belt: A statement of power
A sturdy belt is a more involved project that teaches you about finishing edges and working with hardware. You’ll need a long strip of 8-9 oz veg-tan leather, a historically-inspired buckle, and rivets to attach it. This is a great opportunity to practice a repeating stamped pattern along the entire length of the belt. Properly beveling and burnishing the edges is key to making it look and feel incredible.
The Seer’s pouch: A bag for your runes
This project introduces you to three-dimensional construction. A simple drawstring pouch requires you to cut a main body and a circular or oval base. You will have to carefully stitch these two pieces together, which tests your ability to punch and sew along a curve. Use a softer 3-4 oz leather, and consider adding a tooled symbol of Odin’s ravens or the Helm of Awe to the front before you stitch it all together.
Beyond the craft: Infusing your work with the Viking spirit
Mastering leatherwork is more than just technique. It is about connection. As you work, research the great Norse art styles like Borre, Jelling, and Urnes. Study the intricate animal-form knotwork. Understand the meaning of the runes you carve—they are not just letters, but symbols of powerful cosmic concepts. Don’t just copy a historical piece; understand why it was made. Infuse your own story, your own protection symbols, your own journey into the leather. A piece crafted with intent carries a power that a machine-made item never can.
The legacy in your hands
Leatherworking is a primal and rewarding craft. The smell of the hide, the feel of the tools in your hand, the satisfaction of seeing a project come together—it is a connection to a long line of ancestors who built their world with these same materials. You are not just making a costume piece; you are forging a functional piece of art, an artifact of your own modern saga. So gather your tools, choose your hide, and begin. The legacy of the North is in your hands now. Go forth and create.


